Build Your Own Personal Voice Assistant Part 1
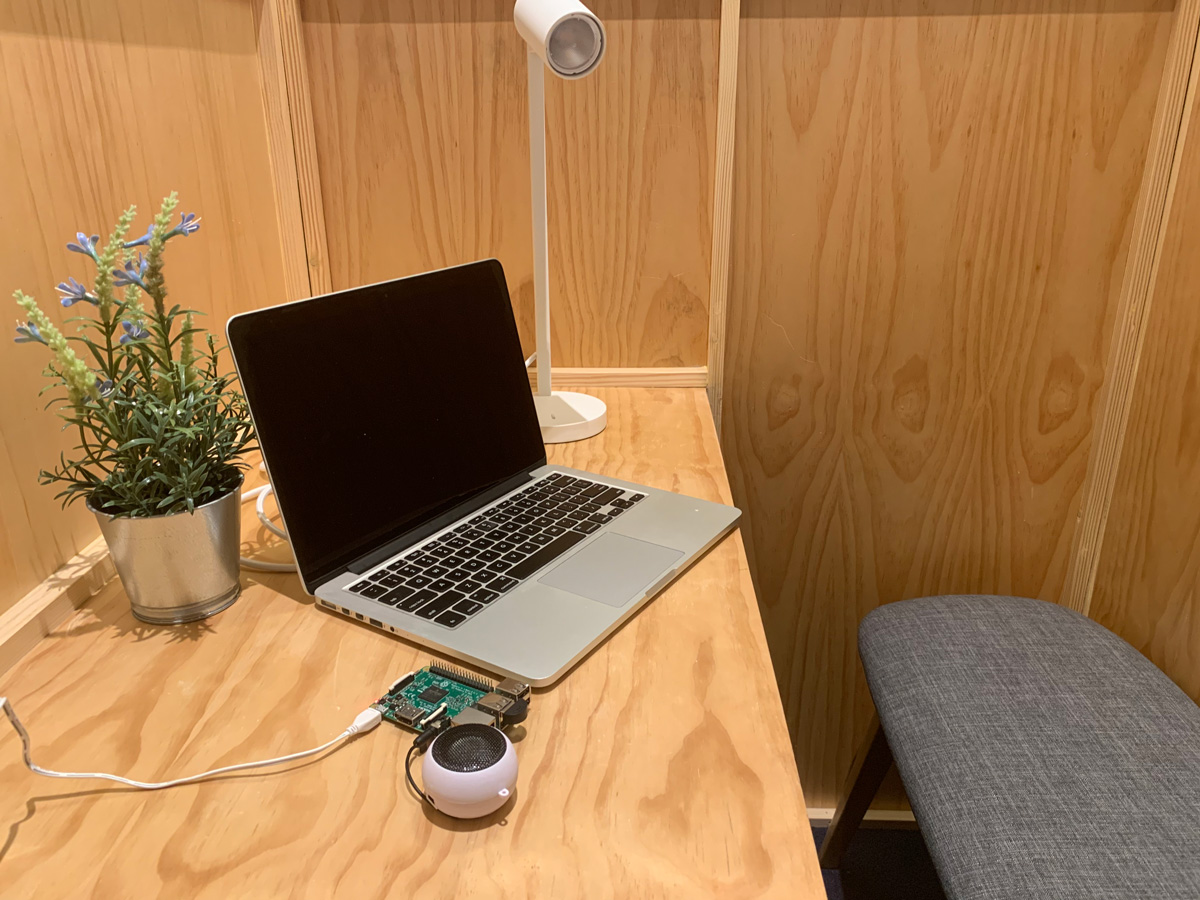
In the last few years, personal voice assistants like the Amazon Alexa and Google Home have become commonplace in our humble home. Many would say that the personal voice assistant is the first essential when it comes to a smart home. In this tutorial, by Yap Zi Qi, we teach you how to make your own with a Raspberry Pi and Google Assistant!
Hardware and software you need and where to find them:
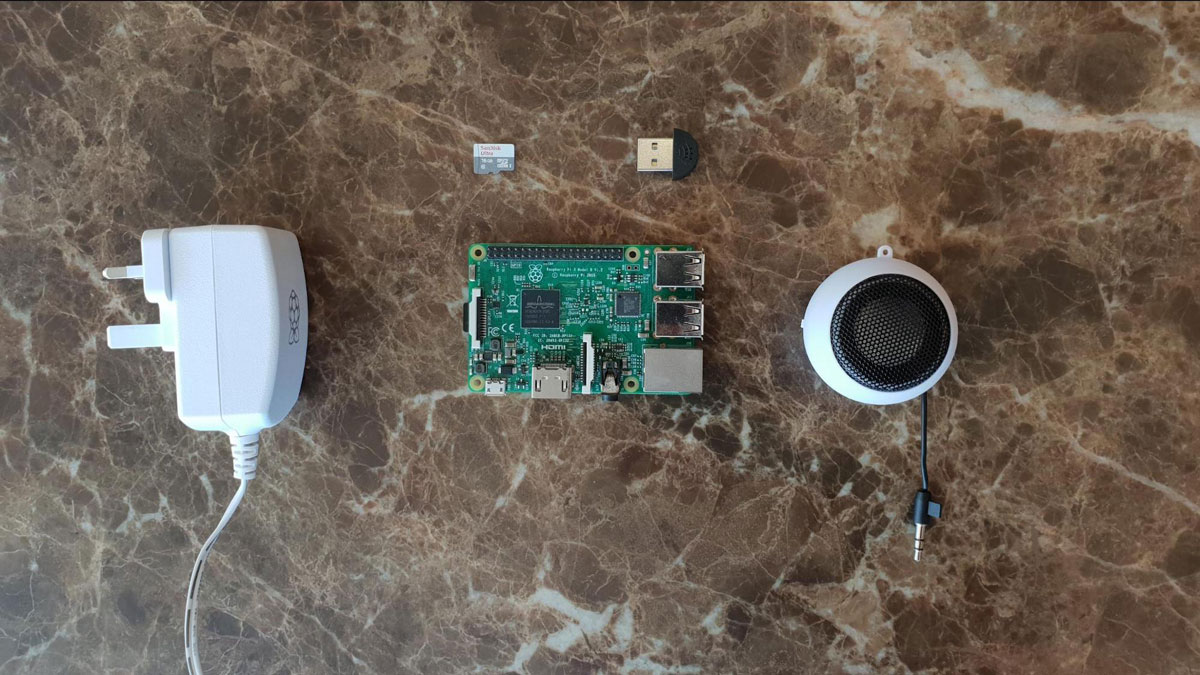
| Hardware/Software | What does it do? | Where can I buy it? |
|---|---|---|
| FOR VOICE CONTROL SETUP | ||
| Raspberry Pi 3 | A microprocessor where Google Assistant can run | Element14.com |
| Power Adapter for Raspberry Pi | To power up the Pi | Element14.com |
| USB Microphone | For invoice input | SgBotic.com |
| 3.5mm Headphone Jack Speaker | For audio output | SgBotic.com |
| Micro SD Card | Memory where the Pi can run its OS | Any tech store |
| Web browser logged into a Google account | To download the required software developer kit from Google and link the smart WiFi plug | [nil] |
| FOR LIGHT CONTROL CIRCUIT | ||
| Lightbulb With Power Plug | A home appliance that can be controlled by the smart WiFi plug | Any hardware store |
| Sonoff WiFi UK Plug (We use Sonoff in this tutorial but feel free to use any brand of WiFi plug) | The plug that links with the Google account for controlling the lights | Tech stores or online |
| 2.4Ghz WiFi | Required to link the WiFi plug | [nil] |
Retailers are provided for reference only. GovTech TechNews is not affiliated with any of the retailers listed in this tutorial.
What you need
-
Computer with Windows/Mac OS to flash the Raspbian OS onto the SD card
-
SD card slot/reader
-
USB mouse & keyboard
-
HDMI-compatible Monitor & HDMI cable
Step 1: Flash the SD card
-
Download the Raspbian Image.Raspbian is the OS for the Raspberry Pi.
-
Download and install Etcher. Etcher cross-platform tool for flashing images to SD cards & USB drives.
-
Insert micro SD card to your computer
-
Open Etcher and select the downloaded Raspbian Image (either .img or .zip file)
-
Select the micro SD card.
-
Click ‘Flash!’ to begin writing Raspbian to the micro SD card
Step 2: Boot Raspbian for the first time
-
Login with the following credentials
 User: pi
 Password: raspberry
(You can change the password by running Terminal and typing sudo raspi-config and selecting the Change Password option)
Testing the microphone and speaker
- Plug in the microphone and speaker
-
Open Terminal and run the following commands
 arecord -l
 aplay -l
arecord -ldisplays the list of input hardware devicesaplay -ldisplays the list of output hardware devices -
Note down the card and device number of the microphone and speaker
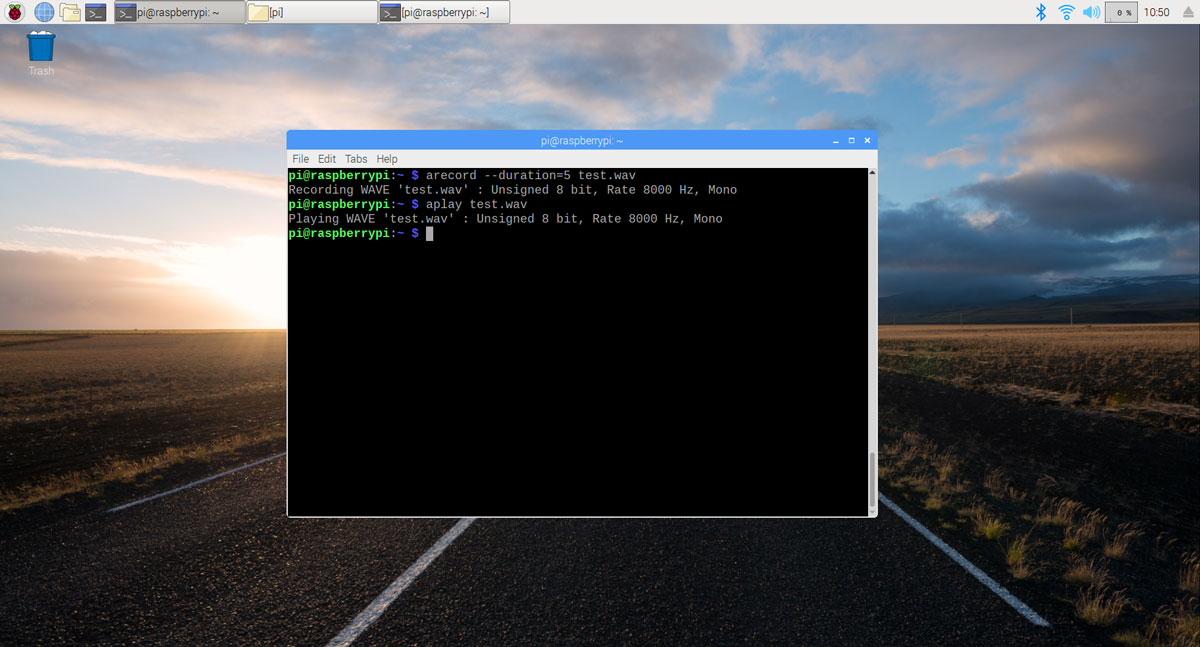
In the above screenshot, the recording device is USB PnP Sound Device and the playback is bcm2835 ALSA. So, the card no. and device no. for recording device is 1 and 0 respectively, and for playback it is 0 and 0.
-
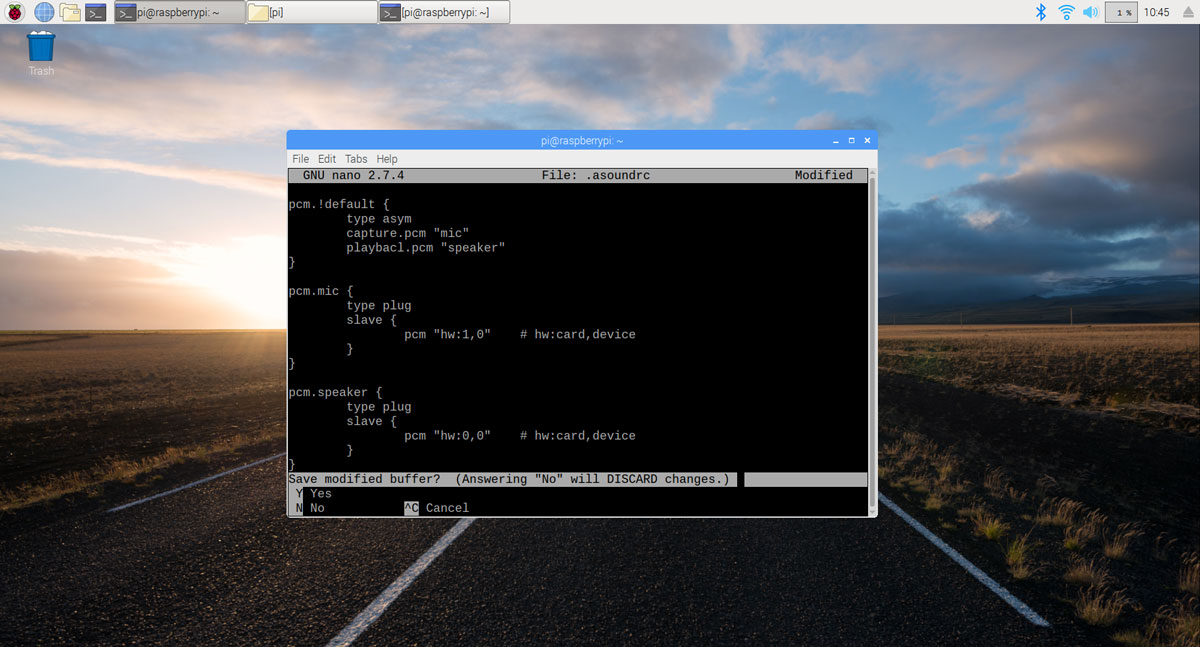
Create a new file by typing the following command in Terminal
sudo nano .asoundrc -
Copy the following code into the file, and adjust the card and device number according to what card and device numbers you have recorded down in step 3.
 pcm.!default {
     type asym
     capture.pcm "mic"
     playback.pcm "speaker"
 }
 pcm.mic {
     type plug
     slave {
     pcm "hw:1,0"	# "hw:card,device (for recording)"
     }
 }
 pcm.speaker {
     type plug
     slave {
     pcm "hw:0,0"	# "hw:card,device (for playback)"
     }
-
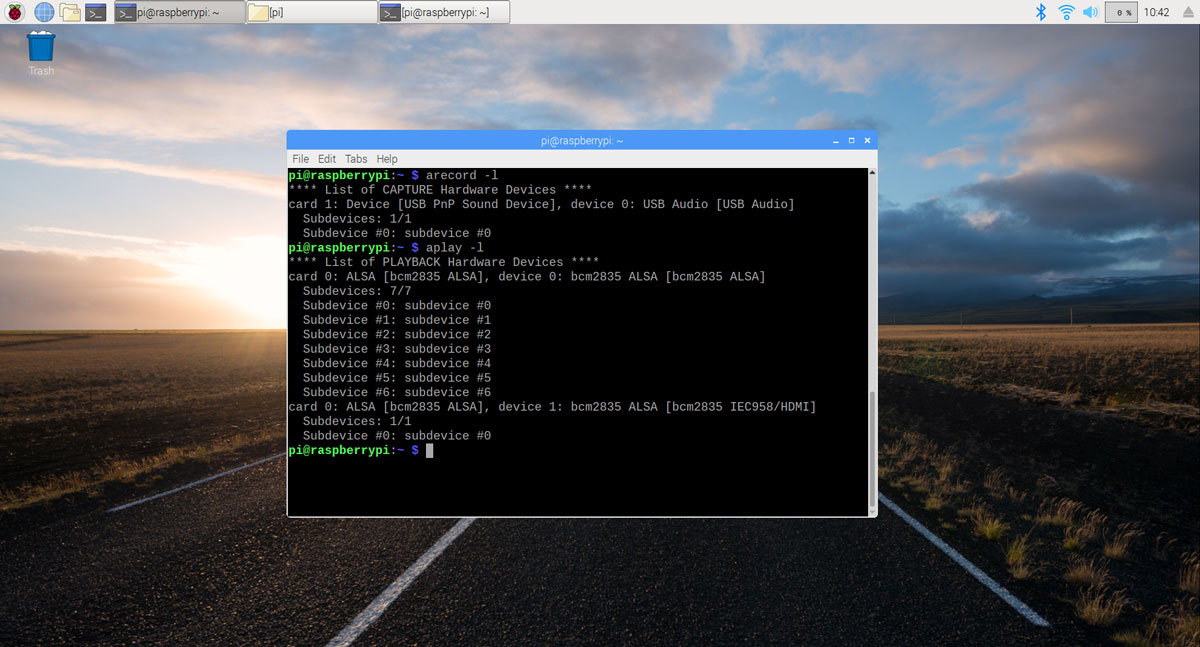
To test the audio setup, run the following code in Terminal
arecord --duration=5 test.wavThe raspberry pi will record audio through the microphone for 5 seconds. Then, run:
aplay test.wavto listen to the audio recorded.
And there you have it, your microphone and speaker are working and all that’s left is to set up the Google Assistant and link up the WiFi plug and lightbulb.
Be sure to look out for part 2 coming next week where you learn to light up your room with a simple voice command!

